What keys should I learn first in Hyper Realistic Ragdoll?
C Fall, LMB Grab, mouse wheel Distance, Throw, R Revive, G Spawn, V Body Scan, 1–7 hotbar.
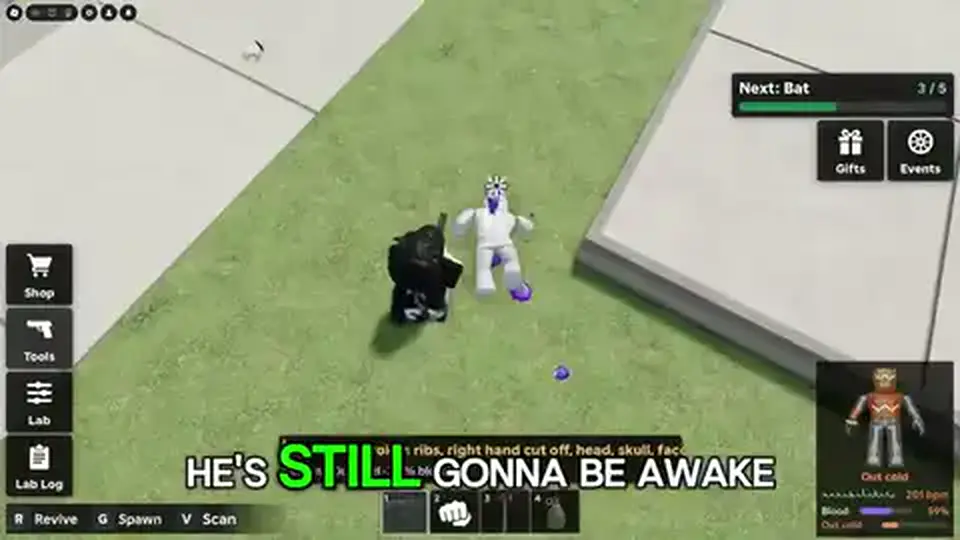
This Hyper Realistic Ragdoll beginner guide is for Roblox Place 101277003916102 — Hyper Realistic Ragdoll by Emo Playworks. Confirm that Place ID before you learn a single key. This wiki is not Realistic Ragdoll Engine, Ragdoll Playground, Ragdoll Clicker, or Ragdoll Royale.
First loop: G spawn → hotbar 1 pistol on a dummy → limp, then crawl → V Body Scan → LMB grab, wheel distance, throw → R revive. Watch the Next tracker (Molotov at 20 KO is the public early example). Verified November 15, 2026 · Play on Roblox.
| Fact | Detail |
|---|---|
| Place | 101277003916102 |
| Listing | Hyper Realistic Ragdoll |
| Developer | Emo Playworks |
| Genre | Physics sandbox · per-limb damage |
| PC keys | C Fall · LMB Grab · wheel Distance · Throw · R Revive · G Spawn · V Scan · 1–7 |
| Early Next | Molotov at 20 KO (public tracker example) |
| PGG farm | Handgun / Hand Cannon heads · Lab speed · skip knives/spears/poison |
| Codes | None verified · November 15, 2026 |
| Verified | November 15, 2026 |
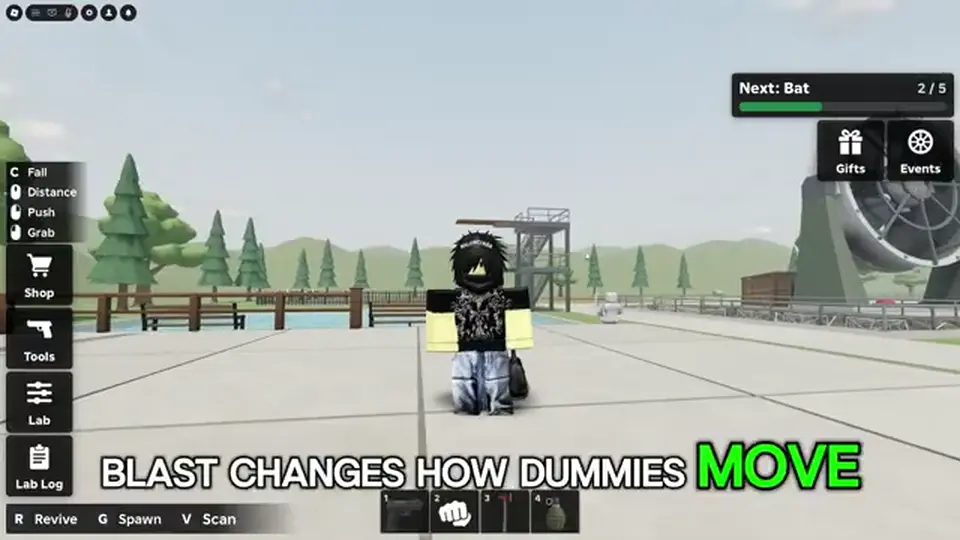
Learn eight PC binds before you chase unlocks. Mobile and console labels stay TBA — do not invent them. Full table lives on controls.
| Key | Action | When you use it |
|---|---|---|
| C | Fall | Drop yourself into ragdoll |
| LMB | Grab | Pick up a dummy or object |
| Mouse wheel | Distance | Push or pull the grab |
| Throw | Throw | Release after grab |
| R | Revive | Stand a dummy back up |
| G | Spawn | Place / respawn dummies |
| V | Body Scan | X-ray limb damage |
| 1–7 | Hotbar | Early tools (AllThingsHow) |
Spawn first (G), shoot second (hotbar 1), Scan third (V), grab fourth (LMB + wheel), revive last (R). C is optional until you want to fall. If a bind is missing on your HUD, stay on this Place and check controls instead of copying another ragdoll’s layout.
If the listing is not Hyper Realistic Ragdoll by Emo Playworks, stop. A grab that works on Ragdoll Engine does not prove this sandbox. Next: use G and a leg shot so the dummy actually changes state.
Matched by build plan, shared topics, and guide progression — not random related links.
Press G to spawn. Recap: G also respawns the dummy set, which is the map-farm reset — shoot what is standing, then G again instead of waiting for a slow stand-up.
Limbs react on their own. A leg shot makes the dummy limp. Keep shooting that leg and it crawls. An arm shot makes the arm hang. A head shot can faint the dummy. That per-part reaction is the whole point of this sandbox.
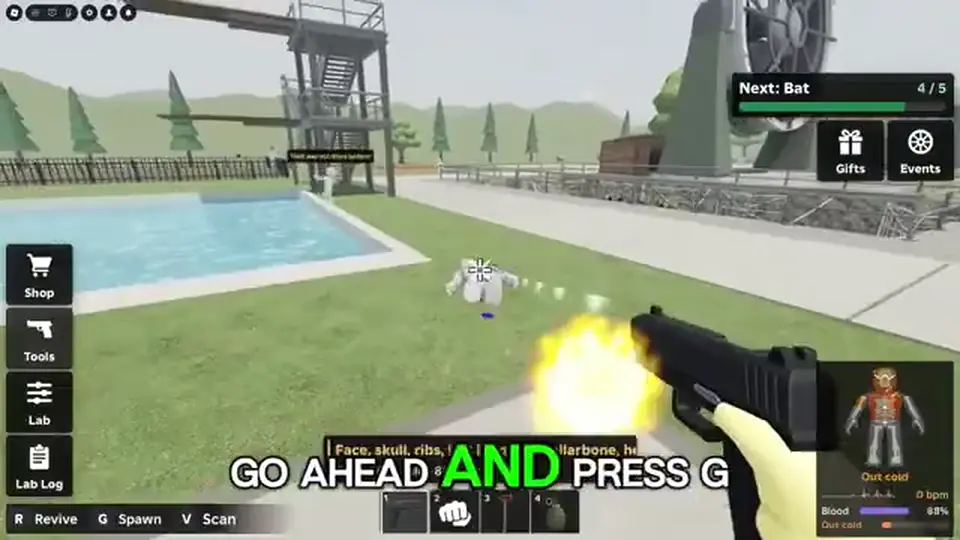
A crawling dummy is damaged, not a finished unlock tick. KO is what fills the Next tracker. Use limp/crawl to learn the body, then switch to headshots when you want the tracker to move. Scan the damage on Body Scan.
The fire axe (hotbar 3 on the AllThingsHow early bar) looks strong on the head and still leaves the dummy awake in the recap. Keep the axe for sandbox hits. For the first KO stack, stay on the pistol. Next still: Scan, grab, revive.
V opens Body Scan — an X-ray of which limbs took damage. Use it after a limp so you see the model, not just the animation. Then LMB grab, roll the wheel for distance, throw, and R revive if you want the dummy standing again.
| Step | Input | Why |
|---|---|---|
| See damage | V | Confirms limp vs crawl vs faint |
| Pick up | LMB | Starts grab |
| Range | Mouse wheel | Holds the dummy off the floor |
| Release | Throw | Yeets after grab |
| Stand up | R | Revive for another shot or a lined-up farm |
Recap: revive, then shoot again. Lined-up Hand Cannon shots can KO two dummies that overlap. R is not only a joke button — it resets the dummy so the next headshot can count. Do not invent a KO-per-minute number from that loop.
Throwing a dummy off a ledge does not replace a headshot farm. Scan first if you are learning the body. Full bind notes stay on controls. Next: the 1–7 bar you actually spawn with.
Early slots below are the AllThingsHow public bar — mark that source. Later unlock names stay TBA on this page. Molotov is a Next-tracker example at 20 KO, not a slot-1 starter.
| Slot | Tool (AllThingsHow) | Beginner use |
|---|---|---|
| 1 | Semi-auto pistol | First farm — headshots |
| 2 | Fist | Sandbox punches |
| 3 | Fire axe | Melee demo; poor KO path in recap |
| 4 | Hand grenade | Cluster throws after pistol |
| 5 | Wooden club | Melee sandbox |
| 6 | Revolver | Another firearm — not a codes reward |
| 7 | Sci-fi blaster | Early bar end; unlocks beyond TBA |
When Next shows Molotov at 20 KO, that is one public example. It does not mean every tool costs 20. Do not fill empty cells with guesses. Names after this bar go on weapons.
If you only learn one slot, learn the pistol. Fist, axe, club, and blaster can wait until the dummy limp/crawl loop is automatic. Next: which shots actually move KO.
PGG farm notes for this Place: Handgun / Hand Cannon headshots, Lab move speed, and skip throwing knives, spears, and poison bottles. Exact KO-per-minute stays TBA — this page does not invent a total.
Recap pistol path: aim the head and keep shooting until the dummy is down. Recap grenade path: throw into a cluster, revive, throw again. Recap Hand Cannon path: headshots, and a lined-up shot can score 2 KOs when another dummy sits behind the first.
| Method | What the recap shows | Use it when |
|---|---|---|
| Pistol heads | Keep shooting the head until down | First ten minutes |
| G + map walk | Respawn dummies, shoot across the map | Pistol still selected |
| Grenades | Throw into groups, revive, throw again | After you have slot 4 |
| Hand Cannon heads | Headshots; line-up can be 2 KOs | Once that tool is unlocked |
| Revive + shoot | Stand dummy, shoot, repeat | You want a reset without G |
| Lab speed | Move speed (PGG); Lab fly costs Robux in recap | Optional, not required to start |
After a map sweep, G puts dummies back. That is the farm loop: heads → down → G → heads. Capture slot for grenades sits with this section’s follow-up still.
Hand Cannon heads are the PGG upgrade over the starter pistol. Lab fly in the recap costs Robux — do not treat it as a free KO multiplier. Route detail: KO farm.
Rock, air cannon, balloon, and push gun are sandbox toys in the recap. They knock, lift, or shove. They are not the KO farm. Use them after the Next tracker has moved, not instead of headshots.
| Tool | Recap behaviour | Farm? |
|---|---|---|
| Rock | Can knock out; recap did not treat it as a clean KO tool | No |
| Air cannon | Blows a dummy; grab then blast to send it flying | No |
| Balloon | Tie to a limb to lift; shooting balloons drops them with little damage | No |
| Push gun | Yeets a dummy or yourself; recap logged a sticker, not a farm | No |
| Lab fly | Flight — recap says it costs Robux | Optional speed, not a free farm |
Three balloons lift a dummy. Shoot the balloons, then push. Recap: it did not KO, and a sticker popped. Fine for messing around. Bad for Molotov-at-20.
Run pistol / Hand Cannon heads until Next ticks. Then waste a dummy on balloons. Mixing them makes the tracker look broken when the tool was never a KO tool.
Most wasted first hours are Place mix-ups, code hunts, or melee “because it looks stronger.” Use this table as a stop list.
| Mistake | Fix |
|---|---|
| Joining the wrong ragdoll Place | Match Place 101277003916102 |
| Pasting Ragdoll Engine codes | Empty table on codes |
| Using roblox.com/redeem | In-game Shop/Gifts/Events only — button TBA |
| Axe / knives / spears / poison for farm | Pistol or Hand Cannon heads |
| Treating limp as KO | Limp/crawl is damage; KO fills Next |
| Farming with rock or balloons | Sandbox only |
| Inventing unlock KO numbers | Only Molotov 20 KO is cited as an early Next example |
| Skipping Scan | V shows which limb actually broke |
| Waiting for a code before playing | Zero verified codes November 15, 2026 |
Place ID → G → pistol head → V if confused → R or G to reset. If the HUD offers Shop/Gifts, look, then leave it — there is nothing to paste today.
You should now confirm Place 101277003916102, spawn with G, limp then crawl a dummy, Scan with V, grab/throw, revive with R, and farm KO with pistol or Hand Cannon heads while watching Next (Molotov 20 KO example). Codes are not a blocker.
Open KO farm next if the tracker is what you care about. Open controls if a bind is still blank. Open weapons for the AllThingsHow 1–7 list. Open Body Scan if V is the confusing part. The empty Copy table stays on codes; the TBA button path is how to redeem.
| If you need… | Open |
|---|---|
| Faster KO with PGG notes | KO farm |
| The eight PC binds in one table | controls |
| Hotbar names after slot 1 | weapons |
| X-ray of limp vs crawl | Body Scan |
| Proof the code list is empty | codes |
Recap: Lab can fly, and that extra costs Robux. PGG still cites Lab move speed for farm. Do not wait on a gift string.
C Fall, LMB Grab, mouse wheel Distance, Throw, R Revive, G Spawn, V Body Scan, 1–7 hotbar.
No. This beginner guide is Place 101277003916102 (Hyper Realistic Ragdoll by Emo Playworks) only.
Press G on PC. Recap: G also respawns the dummy set for a map sweep.
Limbs react on their own: leg limp, then crawl if you keep shooting; arm hangs; head can faint.
PGG: Handgun / Hand Cannon headshots. Recap: pistol heads, G reset, grenades into clusters, Hand Cannon line-up for 2 KOs. Skip knives, spears, poison bottles.
Early Next tracker example: 20 KO. Not a full unlock table.
PGG cites Lab move speed. Recap: Lab fly costs Robux. Optional, not required for the first pistol loop.
None verified as of November 15, 2026. See codes.
November 15, 2026
Matched by build plan, shared topics, and guide progression — not random related links.